How to Fix Bluestacks Not Working on Windows 10: If you are confronting a ‘BlueStacks Engine not working in your Windows 10 PC while attempting to begin BlueStacks, then, at that point, you are in the right spot for the arrangement. Here, you will be directed with simple tasks/techniques to determine the mistake. How about we start the conversation.
Covered Topics
What is Bluestacks
 BlueStacks is an American Technology Company known for BlueStacks App Player and other cloud-based cross-stage items. BlueStacks App Player is intended to empower Android applications to run on Windows OS and macOS-based devices. To introduce or run Android Apps and games on Windows 10 PC, then, at that point, BlueStacks Android Emulator can be probably the most ideal choice for this. The essential element of BlueStacks programming is allowed to download and use while cutting edge highlights require a paid membership.
How to Fix Bluestacks Not Working on Windows 10
However, similar to all the other things on the web, BlueStacks has its own concerns. Among these, BlueStacks crashing on Windows 11 PCs has been a worry for clients recently. As a matter of fact, clients are confronting two sorts of crash issues with BlueStacks. First and foremost, BlueStacks crashes with the “A startling mistake has happened” message. while for another situation, a blue screen of death followed by a total accident. In spite of the fact that there can be different explanations behind the issue, more often than not the accident is because by ruined programming or an obsolete version of the stage. So on the off chance that you are likewise confronting BlueStacks crashing issues on Windows 11, this is the perfect place for you.
1. Change graphics mode
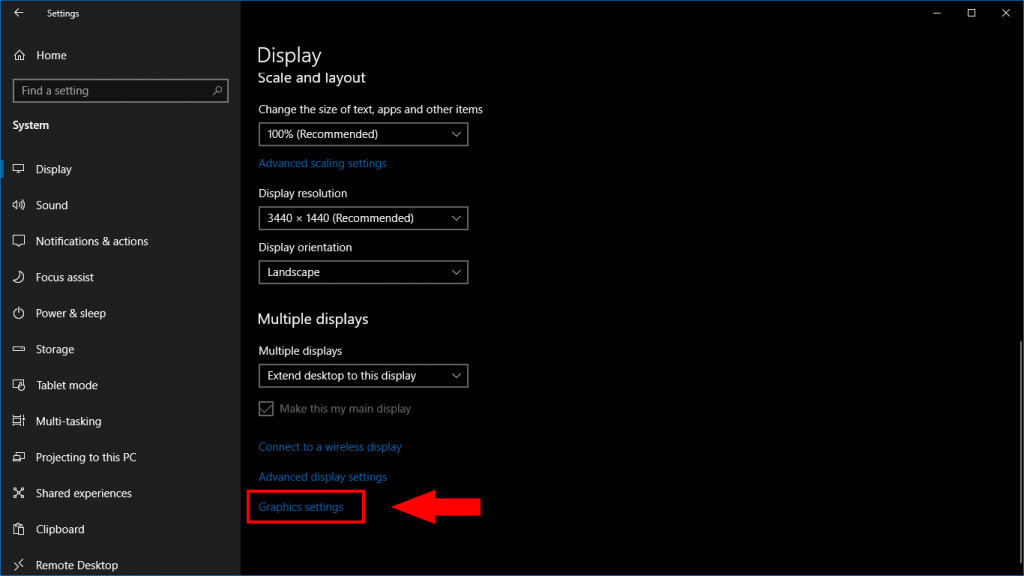
Typically, BlueStacks will pick the OpenGL as the default graphics mode. You can physically change the graphics mode from OpenGL to DirectX in the engine settings of BlueStacks and afterward reboot the Bluestacks, which ought to assist you with fixing the BlueStacks Engine won’t turn over the issue.
In the event that you don’t have any idea how to change graphics mode to DirectX, you can follow the below:
- Send off Bluestacks, and click on the choices button in the upper right corner which is close to the limit and close fastens.
- Select Settings starting from the drop menu.
- Select Engine from the left sheet and pick DirectX under Change graphics mode.
2. Turn off Antivirus
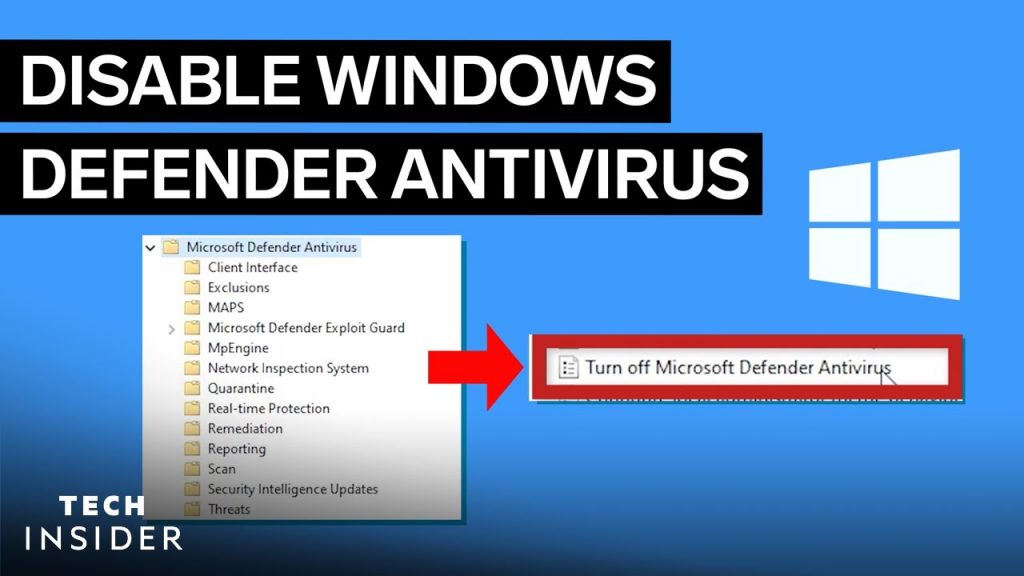
The BlueStacks Engine won’t turn over the issue that could be made by antivirus programming due to programming clashes. So it would be wise to briefly switch off the antivirus programming on your PC.
- You can just right-tap the antivirus programming symbol in the framework plate, find and snap the
- Disable choice to incapacitate the product for a brief time frame. Then have a go at beginning
- BlueStacks and check in the event that this can determine BlueStacks Engine won’t turn over the error.
3. Reinstall the BlueStacks
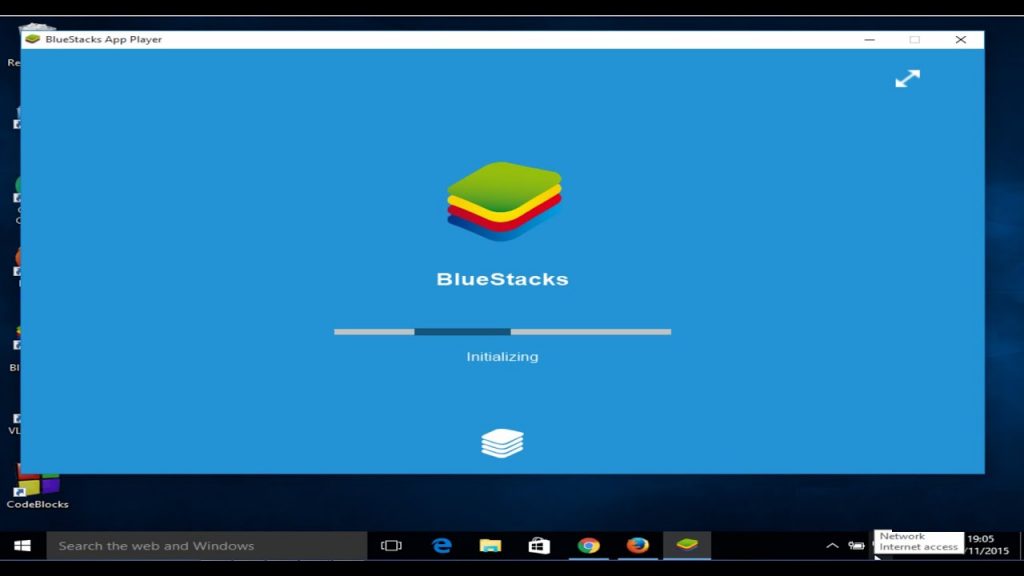
f the above strategies don’t work for you, you might have to take a stab at reinstalling the BlueStacks.
Follow the means below to begin the reinstall now.
- Open Task Manager, right-click on Bluestacks-related process from the rundown, and snap-on End Task.
- Press Windows + R keys on the console to raise the Run exchange box. Type %temp% into the Run box and hit Enter to open the temp organizer.
- Select every one of the records in the temp envelope, then right-click and pick the Delete button.
- Click here to download the BlueStacks uninstaller. Then, at that point, run the uninstaller to eliminate Bluestacks totally. Follow the prompts to complete the uninstalling system.
- Then you can click here to download the most recent BlueStacks rendition. Run the installer and follow the prompts to introduce it. At the point when it is done, click the Complete button.
- After Bluestacks begins naturally, the BlueStacks Engine won’t turn over an error message that ought to vanish from the product.
4. Run SFC Scan
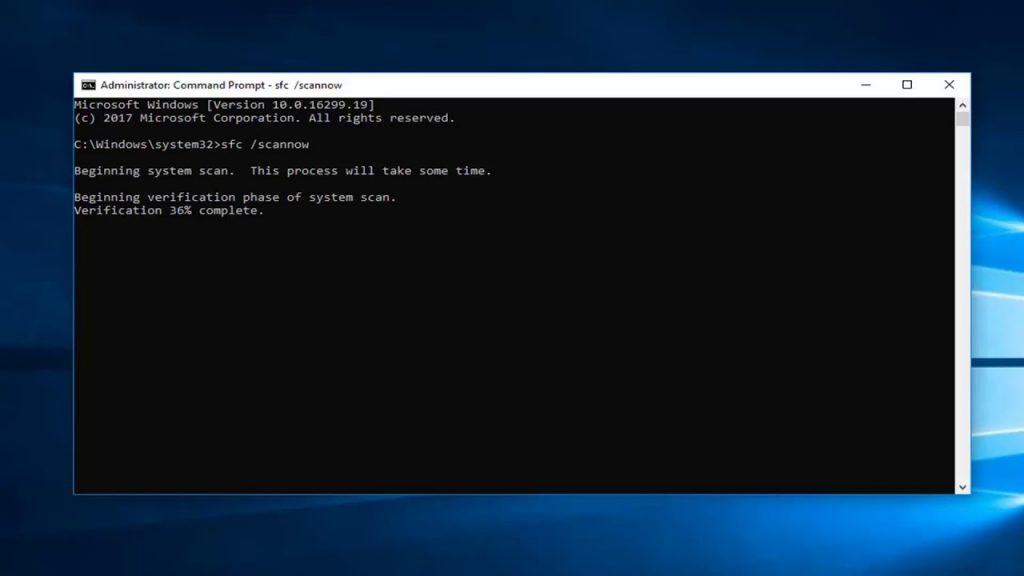
On the off chance that empowering virtualization has no effect, run an SFC scan to ensure that no mess up or ruin Windows records are causing the issue.
You can play out an SFC scan by following these means:
- He expresses “poultice” in the Windows search bar.
- Right-click on a record Command Prompt application and snap Run as director.
- He expresses “SFC/scannow” and hit Enters.
- SFC Scan Completed at Windows Command Prompt
5. Update Windows
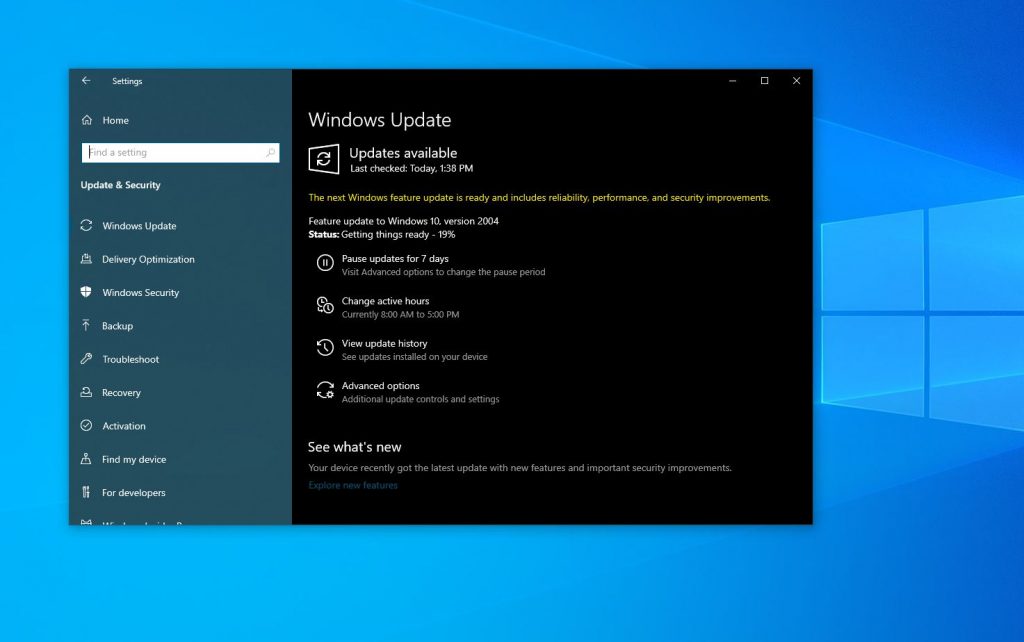
An obsolete operating system can likewise cause similar issues with applications. Subsequently, assuming BlueStacks is refreshed to the most recent version, Windows ought to likewise be totally refreshed.
To check for refreshes, follow these below:
- open windows Settings a program.
- go to Update and security.
- Go to Windows Update in the left sidebar.
- Click Check for refreshes on the right sheet.
- Windows will consequently check for and introduce the most recent update on your PC. Nonetheless, assuming that BlueStacks begins to crash subsequent to refreshing your PC to a new version, you might need to re-update.
- If you really want some help, this is the way to flash back Windows to a past version.
Conclusion
I hope this article helped you with how to fix the BlueStacks not working on Windows 7/8/10 error on your PC, with several easy methods. You can read & follow our methods to do so.