Gmail, the free email service has now been with us for 15 years. Google keeps on adding new and advanced features to Gmail. The feature that we are gonna talk about today is Email Scheduling. Yes, you read it right!! You can now Schedule Emails in Gmail to be sent later at a more convenient time. No longer you have to be dependent on third party tools for scheduling the emails.
Covered Topics
How to Schedule Emails in Gmail
The scheduling feature of Gmail works with the mobile app as well as with the desktop version of Gmail. You can schedule the emails up to 49 years in advance. Here’s how to do it.
Schedule Email in Desktop Web Browser
Here’s how you can schedule an email in the web browser.
Step 1: Open Gmail on your computer.
Step 2: Compose your email or select the one saved in the Drafts. Specify recipient(s) in the To, Cc or Bcc field, give the subject of your email and type the message body.
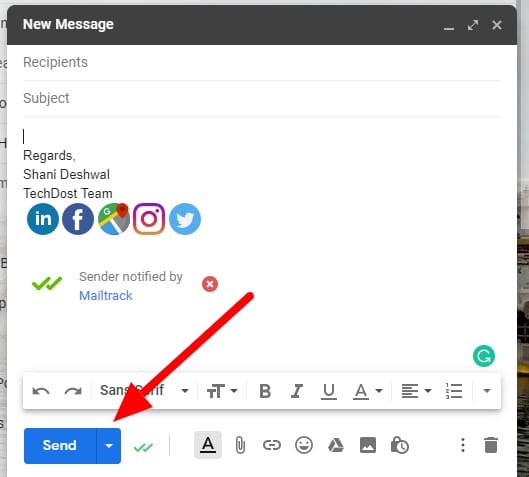
Step 3: At the bottom left next to Send, click the dropdown arrow and select Schedule send option.

Step 4: As soon as you’ll click on Schedule Send option, you will get a new pop-up window. You can select the time from the suggested options or click Pick date & time to choose your preferred time.
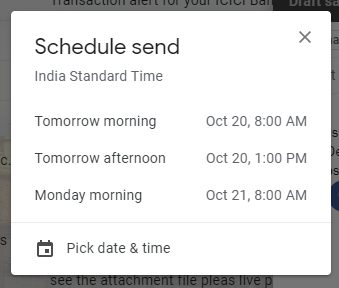
Step 5: Finally click on the Schedule Send button.
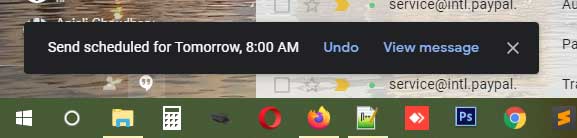
A notification box will appear in the bottom left corner saying ‘Send scheduled for…‘ which you can ignore or can also hit Undo or View message link if you want to undo this scheduling or wants to view the message.
Schedule Email in Gmail app
Here’s how you can schedule an email in the Gmail mobile app.
Step 1: Open the Gmail app on your mobile.
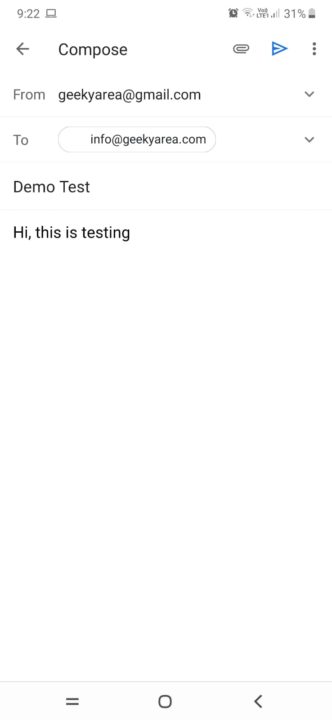
Step 2: Compose your email or select the one saved in the Drafts. Specify recipient(s) in the To, Cc or Bcc field, give the subject of your email and type the message body.
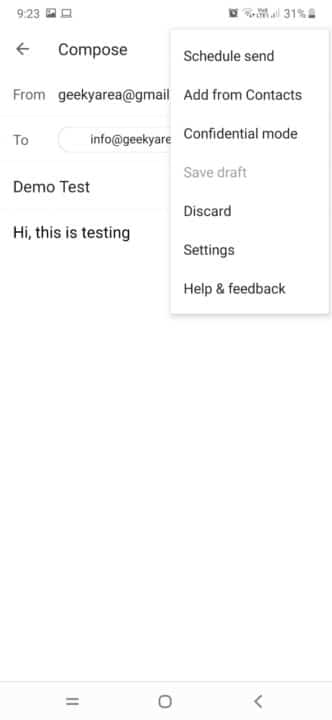
Step 3: Click on the three dots located at the top right corner of the app, and click on Schedule Send.
Step 4: Now you can select the time from the suggested options or click Pick date & time to choose your preferred time.
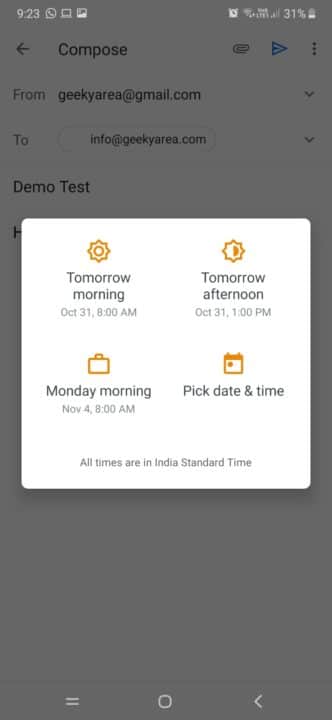
Step 5: Finally, click on the Schedule send button.
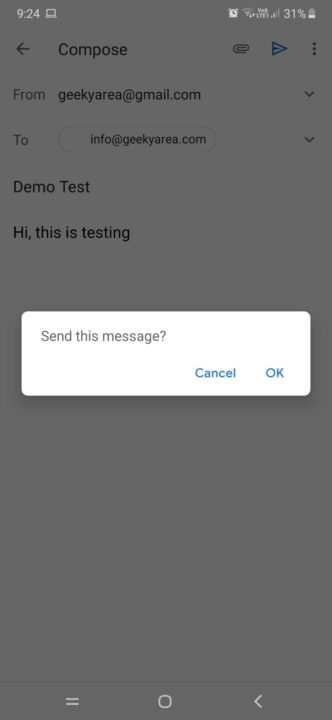
That’s it. Your email will be sent at your chosen date and time to the recipient(s).
How to View or Change Scheduled Emails
If you want to view or change the scheduled emails then follow the below steps:
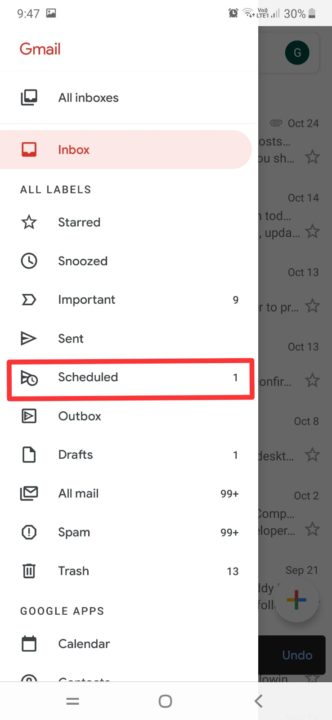
Step 1: Open Gmail in a desktop browser or mobile. Go to the Scheduled folder.
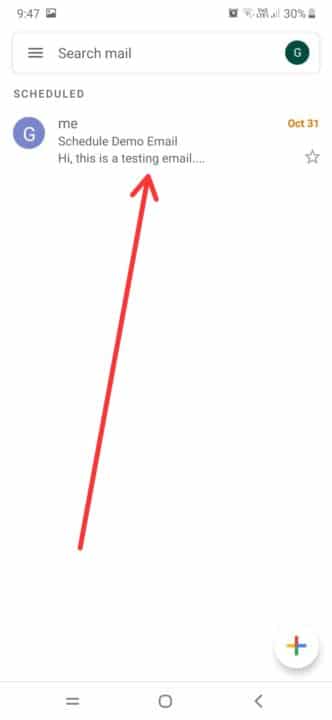
Step 2: Select the email you want to change.
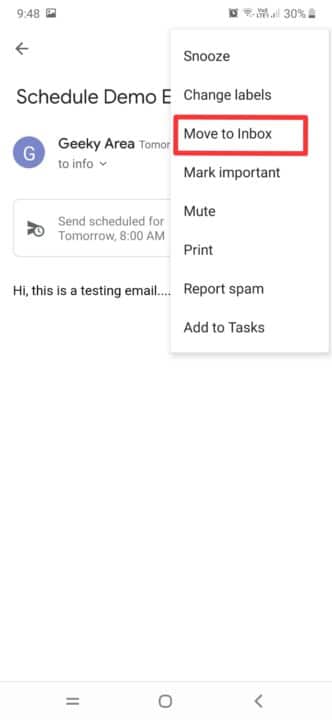
Step 3: In the browser click on Move to Inbox icon. If you are using the Gmail app, then click on the three dots located at the top right corner, and select Move to Inbox option.
Step 4: Now, visit your inbox folder. Your selected email will appear at the top.
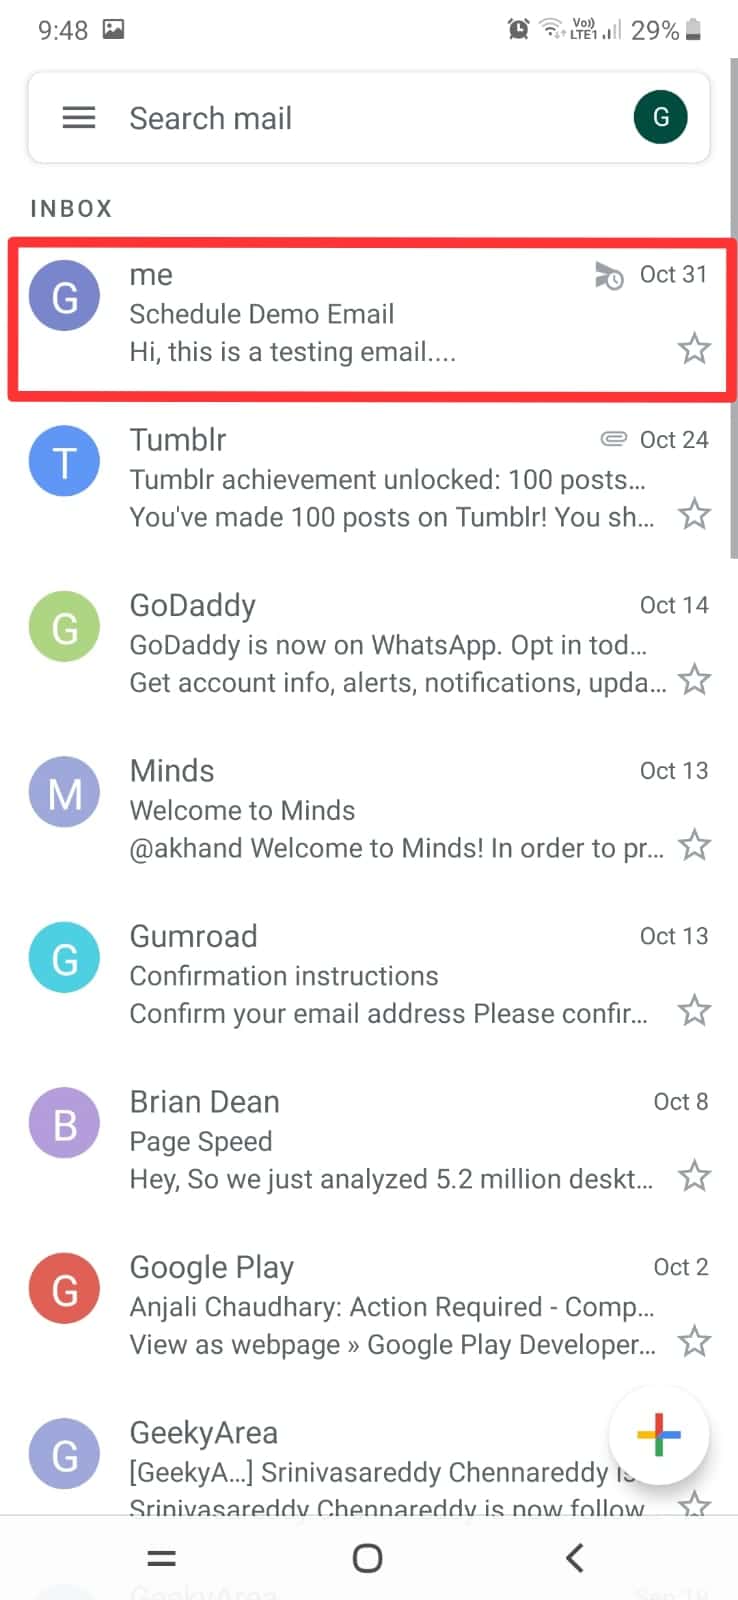
Step 5: Select the email and open it.
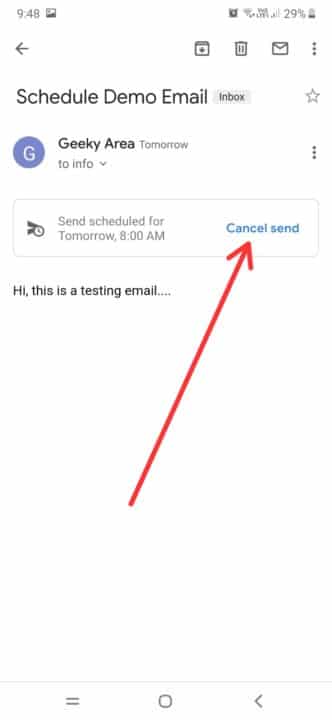
Step 6: Click on Cancel Send.
Step 7: If you are using the browser, then as soon as you’ll click on Cancel Send, the New Message pop-up window will open up automatically. You can make the changes there and repeat steps 3 to 5 we have discussed in How to Schedule an Email in Gmail heading.
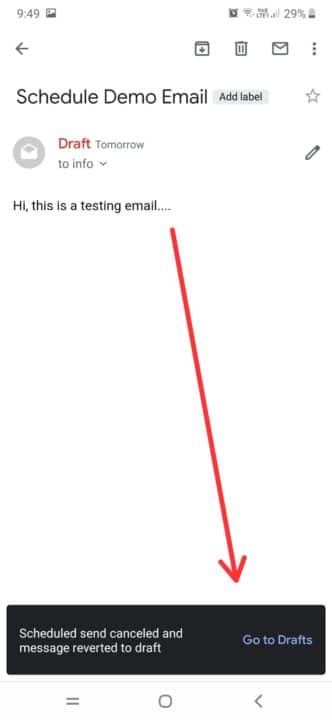
Step 8: For Mobile app users, the message will get saved in Draft as soon as they’ll click on the Cancel Send option. You can click on the edit icon and repeat steps 3 to 5 discussed in How to Schedule an Email in Gmail heading to again schedule the email with changes.
Also, Read: How to Bypass Gmail Phone Verification on Android
How to Cancel Scheduled Emails
If you want to cancel sending the scheduled email then please follow the below steps:
Step 1: Open Gmail in a desktop browser or mobile. Go to the Scheduled folder.
Step 2: Select the email whose transfer you want to cancel.
Step 3: Web browser users can click on Cancel send option located at the top. Mobile app users can click on the Cancel send option which comes as soon as they open the scheduled email.
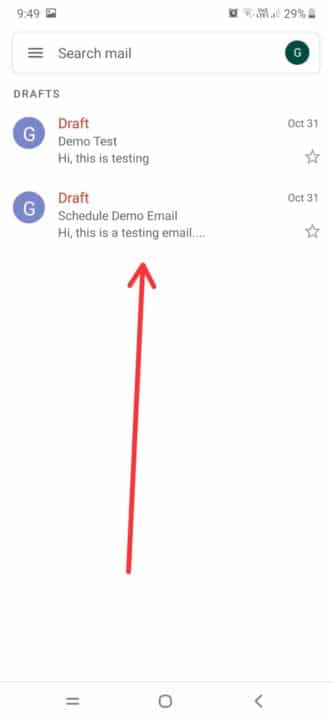
That’s it. The transfer will get canceled. The canceled email will be saved to the Drafts.