How to Add Page Numbers In Google Docs (Latest): Usage of Google Docs is helpful and considerably less tedious when contrasted with what we have encountered before. Moreover, the prompt/autosaving choice extras us a great difficult situation of losing our work coincidentally in the event of any specialized issues in our device. Various things are still somewhat challenging for the clients to snag since they have recently begun utilizing the product and they need direction from time to time to make their work sufficient. One of them is adding page numbers in Google docs.
The undertaken article will examine the most widely recognized thing we probably won’t know how to use in Google Docs. It records guidelines on How to add page numbers in Google docs. We will perceive the way the expansion of page numbers could be made on the reports that we are making in Google Docs. Despite the fact that the interaction is unreasonably easy, we by and large will quite often disregard this most significant part of a document page numbers.
Covered Topics
How to Add Page Numbers In Google Docs
- Open your document.
- choose Insert.
- Select the Page number.
- Click the ideal page number location.
The means in this guide will tell you the best way to place page numbers into an archive in Google Docs. These page numbers will change consequently as you add or delete pages.
9 Google Docs Tips & Best Practices
- Adding a Page
- Add Page Numbers
- Adding Fonts
- Adding a Table of Contents
- Checking Your Word Count
- Changing Page Margins
- Inserting Headers and Footers
- Spelling and Grammar Check
- Uploading a Word Document into Google Docs
- Google Docs Shortcut Keys
1. Adding a Page
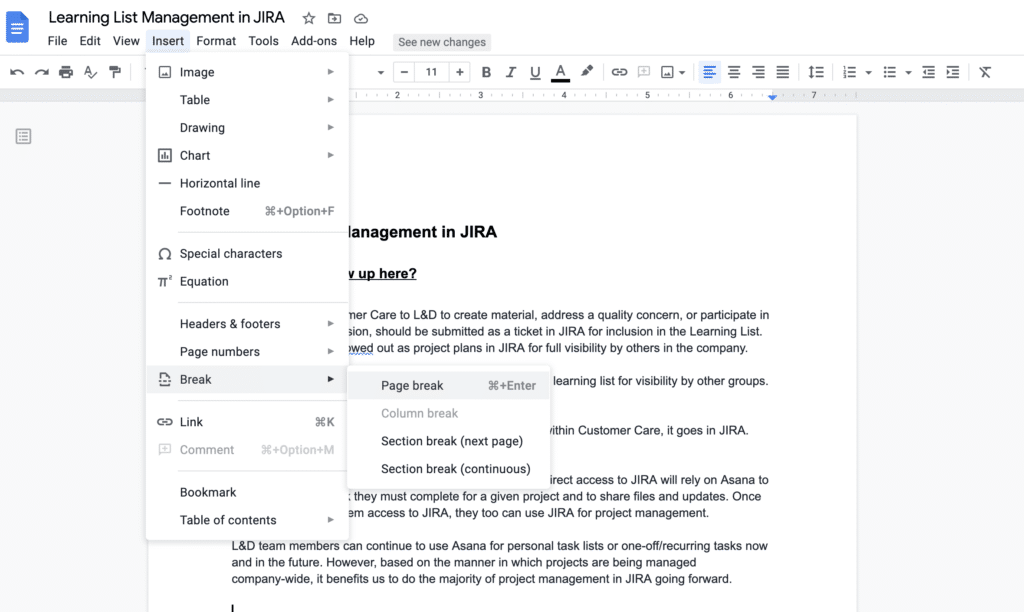
As you add content to your Google doc, pages are naturally added as far as possible. To embed another page inside the record, in front of the rest of the competition your cursor where you need the page embedded. Click the Insert menu, explore to Break, then, at that point, pick Page Break. Then again, you can put your cursor where you need the break, press Command + Enter to embed the page break.
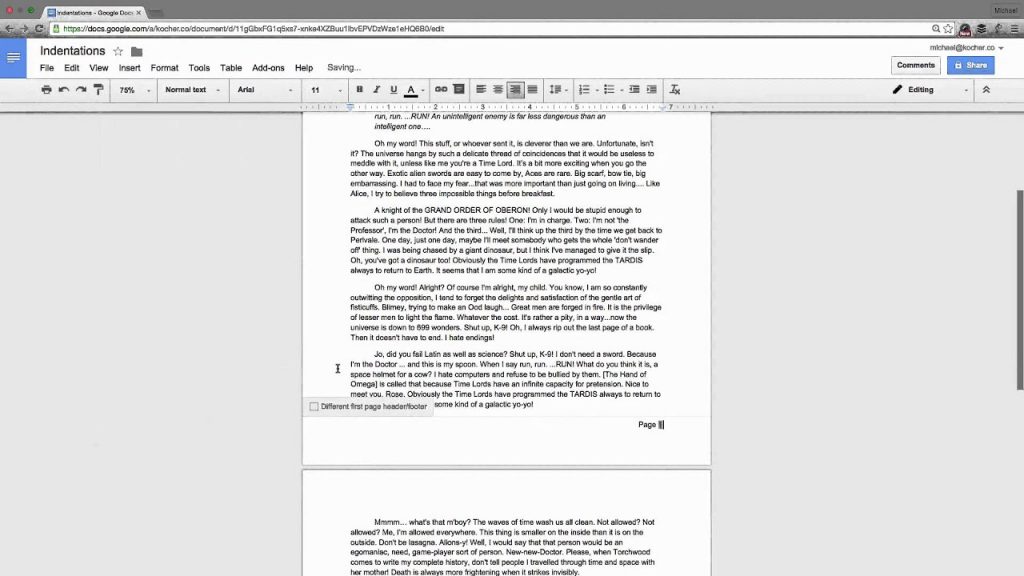
2. Add Page Numbers
From the Insert menu, pick Page Numbers. From that point, you can choose your numbering inclination utilizing the page symbols. Decisions are
- Place number in the header or footer, right side as it were.
- Number each page, including the main page.
- Try not to number the principal page.
Click the symbol that addresses your decision from the choices above. To physically set those choices, or need to begin your numbering at a number other than 1, pick More Options from the Numbering submenu to roll out those improvements.
3. Adding Fonts
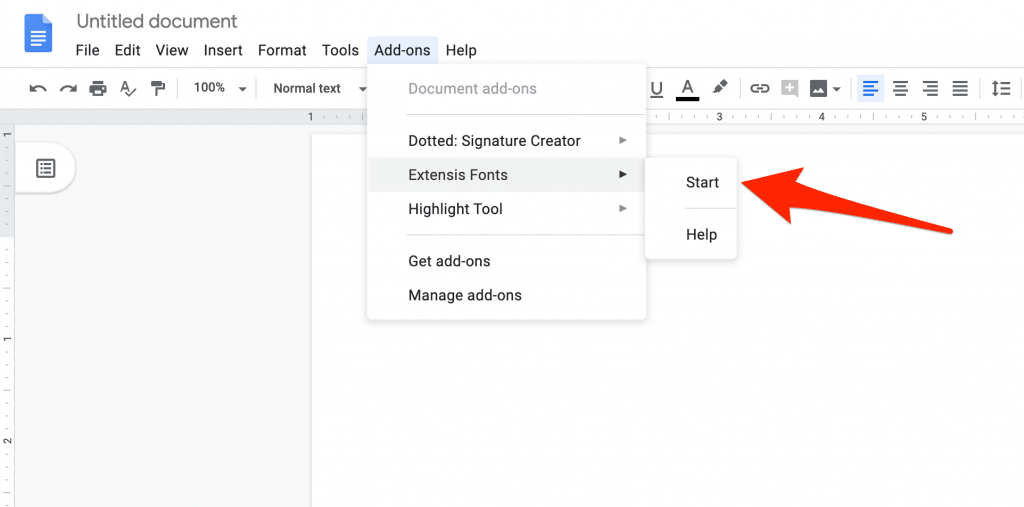
Your textual style list is accessible in a drop-down list in your top altering toolbar. Various default textual styles are accessible, however, to investigate others click the More Fonts choice.
This will show a Fonts menu with a few choices for arranging to observe the particular textual style you need to utilize, or you can enter the textual style name in the pursuit box. To add your text style to your rundown, actually, look at the name of the text style in the rundown, then, at that point, click OK to add it. At the point when you return to your top altering toolbar, you should see the new textual style in the dropdown list.
Also, Read: How To Fix Fitbit Versa Won’t Turn On Issue?
4. Adding a Table of Contents
There are two choices for your Table of Contents. You can show a sidebar for the route or add a genuine Table of Contents to the archive. Your heading settings in your record will decide the format of your Table of Contents. Heading 1 will be the top line of the Table of Contents, with subheadings recorded under. Before you settle on an in-record show or sidebar route, ensure you have these set up. For additional that, see this page.
- To make a route sidebar, pick the Add-ons menu choice, and select Get additional items.
- In the window that shows up, look for Table of Contents. Pick the choice you need, then, at that point, click Install.
- When introduced, the Table of Contents will show on the right half of your report.
- To show the sidebar, you can tap the X in the upper-right corner of the sidebar to close it. To show it once more, return to the Add-ons menu. The introduced add-on will be in your extra rundown, and you can choose it once more.
- To add a Table of Contents into the report, place your cursor where you need the table to show. Pick the Insert menu, then, at that point, select Table of Contents. From this choice, you can pick whether or not to incorporate the page numbers with the table.
5. Checking Your Word Count
Word count is a significant apparatus for some clients of Google Docs. This capacity can be found under the Tools Menu. At the point when you pick Word Count, the gadget that seems will show the word count and a few others:
To monitor your statement include as you work in your archive, check the “Show word count while composing” box. The word include will show in a case in the lower-passed on corner of your screen as you keep on working.
6. Changing Page Margins
- To change the size of your edges, pick the File menu, then, at that point, select Page Setup.
- From the menu that shows up, you can set the edge size however you would prefer as well as change the page direction, page size, and additionally page tone.
- Click Ok to save your changes, and your record will consequently conform to the new settings.
7. Inserting Headers and Footers
Headers and footers can be valuable reference focuses for yourself as well as your perusers. You can incorporate the title and page number or even specify “Last Updated” to demonstrate how as of late the archive was altered.
- To include a Header or Footer, select the Insert menu then the Header and Footer choice.
- Pick the choice you need, and a layout segment for the header/footer will show up on your page.
- Type the substance you need in the header/footer. You can alter the text in the header utilizing similar apparatuses you use for the substance in the body of your report. From the header/footer design bar, you can tap the actual take a look at the box to eliminate the header from the primary page of the report or snap the Options drop-down to change the edges and show. Click Apply to save your changes.
- To leave the header area, click once again into your archive.
8. Spelling and Grammar Check
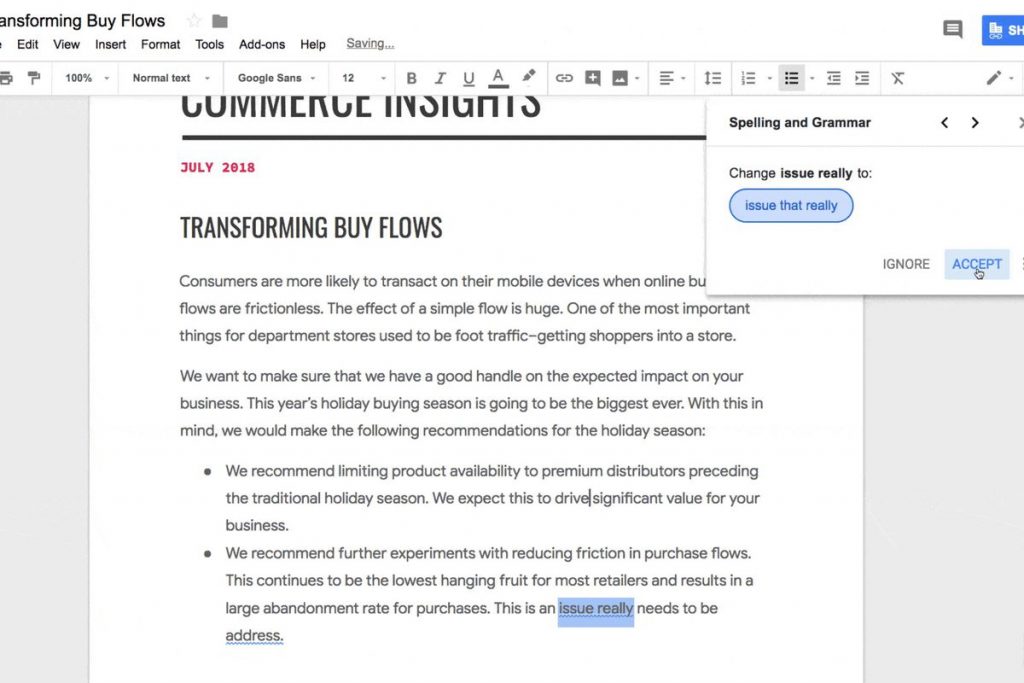
Checking your spelling and syntax prior to sharing or distribution is fundamental. Fortunately, Google Docs makes it simple to follow mistakes and ideas as you compose. To empower these highlights, pick the Tools menu, then, at that point, select Spelling and Grammar.
From the submenu that shows up, you can pick Spelling and syntax check to run a check right now, or you can choose “Show spelling/sentence structure ideas” to get those ideas in the report as you work. With these choices checked, blunders in your archive will be demonstrated with a shaded, squiggled line. Spelling blunders are underlined in red, sentence structure mistakes are in blue.
9. Uploading a Word Document into Google Docs
- Assuming you’ve made an archive in Microsoft Word yet presently need to work with and share it as a Google Doc, you can without much of a stretch transfer it to your Google Drive.
- Open your Google Drive and snap New. Pick File Upload to pick records from your nearby PC drive.
- Pick your Word record, and snap to open it. This activity transfers your record into Google Drive. Whenever it’s transferred, it might open in Google Docs, yet will, in any case, be named as a .doc or .docx document type.
- To save it as a Google Doc, pick the File menu, then, at that point, utilize the Save as Google Docs choice.